
Most makeup that looks “off” isn’t a product problem. It’s a sequence problem. Base applied over the wrong prep pills. Concealer set before it settles creases. Powder swept on too early dulls the color that goes over it. Getting the order right costs nothing and fixes more than a new purchase will.
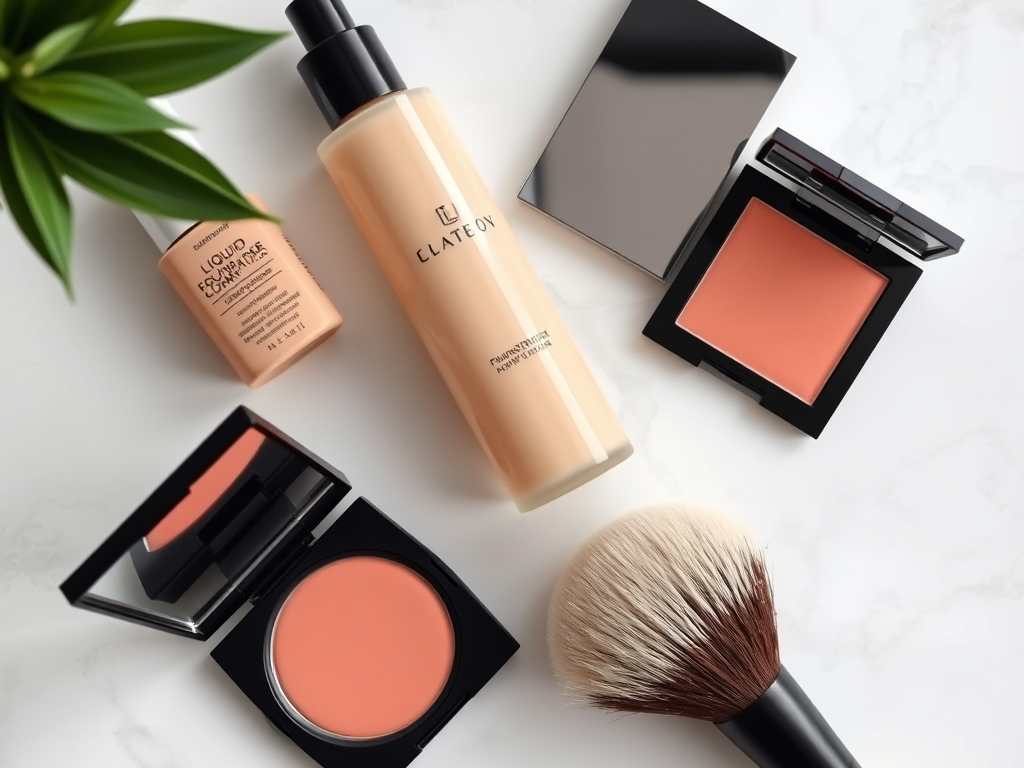
This guide walks through a standard layering order, explains why each step sits where it does, and covers how to decide which steps are worth your money. Brand names appear only as examples of how a product range is organized — everything below is general makeup knowledge plus what brands publish about their own products.
Step 1: Prep the skin so the base has something to sit on
Every layer above skin clings to what’s underneath it. Thin, dry, or freshly exfoliated skin makes foundation separate; skin that’s too heavily moisturized makes it slide.
The reliable sequence is cleanser, moisturizer, then sunscreen — sunscreen always last in the skincare layer, never mixed into foundation, because mixing dilutes the protection. Give each layer a minute to absorb before the next one.
A hydrating mist is optional here. Some people use one after moisturizer to add slip; others use it later in the day to refresh makeup that’s gone flat. delilah, for example, lists a Skin & Make-up Mist in its Face range, and the name signals that dual purpose. If you use one, apply it before primer, not after powder.
Step 2: Primer — choose it for a problem, not for the label
Primer is the most over-bought step in makeup. Ask what you want it to do: smooth texture, hold makeup longer, or add glow. If you can’t answer, you probably don’t need one.
The main practical rule is compatibility. Silicone-based primers and water-based foundations can separate and pill when layered. Check the first few ingredients on both bottles — if the foundation lists water first and the primer lists a silicone compound first, test the pairing on your jaw before committing to a full face.
delilah’s Face collection includes a primer listed as a foundation primer (Under Wear Future Resist Foundation Primer), which is the category to look at if your goal is a smoother base layer rather than color correction.
Step 3: Base — match undertone first, depth second
Most people shop foundation by shade depth and ignore undertone, which is why a “close enough” match still looks gray or orange in daylight. Undertone — cool, warm, or neutral — determines whether a shade reads as skin or as a mask.
How to test properly:
- Swipe three candidate shades along your jawline, not your hand.
- Step into natural daylight. Indoor lighting hides undertone differences.
- Wait ten minutes. Many formulas darken slightly as they set, so judge the dry result.
- Pick the shade that disappears at the edges, not the one that looks best in the swatch.
Coverage level matters as much as shade. A skin tint is a lighter, more forgiving option for people who want to even out tone without a full-coverage look; a traditional foundation is the better pick for redness, discoloration, or uneven texture. delilah stocks both a Skin Tint and a separate Foundation collection, which lets you settle the coverage question before you start comparing shades.
Step 4: Concealer and corrector — after the base, not before
For most routines, concealer goes on after foundation. Applying it first means you either blend it away when you apply base or end up using far more product than you need.
The exception is color correcting — peach or green correctors belong under foundation to neutralize discoloration before the base layer goes down. Concealer itself goes on top, in thin layers, pressed in with a fingertip or a small brush. Build in two light passes rather than one heavy one; heavy concealer is what creases.
Step 5: Powder — press it in, don’t sweep it around
Powder sets the layers beneath it, so it belongs after concealer rather than between base and concealer. Press, don’t sweep: a small amount pressed into the T-zone with a damp sponge or a dense brush locks makeup in place, while a big fluffy brush flings powder across the face and can leave a dry film.
Formula matters here too. A pressed powder built with a hydrating ingredient such as hyaluronic acid tends to suit normal-to-dry skin better than a flat matte setting powder, which can look tight. delilah’s Face range lists a hyaluronic pressed powder as one option in that category.
Step 6: Cheeks — cream before powder, always
Cream and liquid cheek products go before powder blush, bronzer, or highlighter. Applied over powder, a cream formula drags and patches. Applied underneath, it blends into the base and reads like skin.
The order within the cheek step is bronzer, then blush, then illuminator — bronzer for structure, blush for color, highlighter for the light-catching finish on top. If you only own one, blush does more for a tired face than highlighter does.
delilah organizes its Cheeks collection into blusher, bronzer, and illuminator as separate categories, which is a useful way to shop the step: buy the one you’ll actually use daily rather than the full trio on day one.
Step 7: Eyes — shadow, liner, mascara, brows
Eyeshadow first, then liner, then mascara. Curl lashes before mascara, never after — curling set mascara cracks it and pulls lashes.
Brows can go earlier or later, but do them before mascara so you can fix any stray powder without smudging your lashes. If you use a cream shadow as a base, set it with a matching powder shadow so it doesn’t crease in the socket. An eye-area product such as a dedicated eye perfector, if you use one, belongs in the skin-prep stage rather than on top of shadow.
Step 8: Lips
Lip liner, then lipstick or gloss. Liner all over the lip extends wear; liner only at the edge prevents feathering. Exfoliate and moisturize first if lips are dry, or color will settle into lines within the hour.
How to tell whether a product earns its place
Before buying anything new, run a quick check:
- Does it replace or duplicate? If you already own a base, a blush, and a mascara, a fourth category is a want, not a need.
- Does the ingredient list fit your skin? Fragrance and alcohol sit high on some lists and can irritate sensitive skin. Patch test new products on the inner forearm first, and stop using anything that stings or reddens.
- What’s the shipping and return picture? Free shipping thresholds change the math on single-item orders. delilah’s US site states free shipping on orders over $50, so bundling a restock with a new item can cost less than placing two small orders. Check the current return terms on the site before you buy.
- Is the packaging realistic? A shade you can’t use up before it expires is money spent on shelf space. Follow the period-after-opening symbol on the label.
FAQ
Does the order change for oily skin? The sequence stays the same, but you may want a mattifying primer, a lighter base, and powder placed slightly earlier to control shine. Blotting paper mid-day beats adding more powder.
Can I skip primer? Yes. Well-prepped skin holds makeup fine for many people. Primer is most useful when you have a specific issue — visible texture, large pores, or makeup that fades by lunch.
Cream or powder blush first? Cream first, powder on top if you want extra longevity. The reverse order causes patchiness.
How do I know when makeup has expired? Check the period-after-opening symbol on the packaging, store products away from heat and direct sun, and replace anything that has changed smell, texture, or color.
Should I consult a professional? If you have a skin condition, allergies, or persistent irritation, talk to a dermatologist before adding new products. Makeup is cosmetic, not treatment — it isn’t designed to resolve skin concerns.
Where to start
Pick the two steps that make the biggest difference for your skin — usually prep and base — and get those right before adding anything else. If you’re shopping delilah’s range, browse by category (Face, Cheeks, Eyes, Lips) so each step maps to one product instead of a full set, and check the site’s current shipping threshold before you check out.