
Buying a performance bike is one of the few fitness purchases where the wrong choice is expensive and obvious within the first mile. A bike that fits poorly, or that was designed for riding you never actually do, tends to sit in the garage. A bike that matches your terrain and your body gets used three times a week without any willpower required.
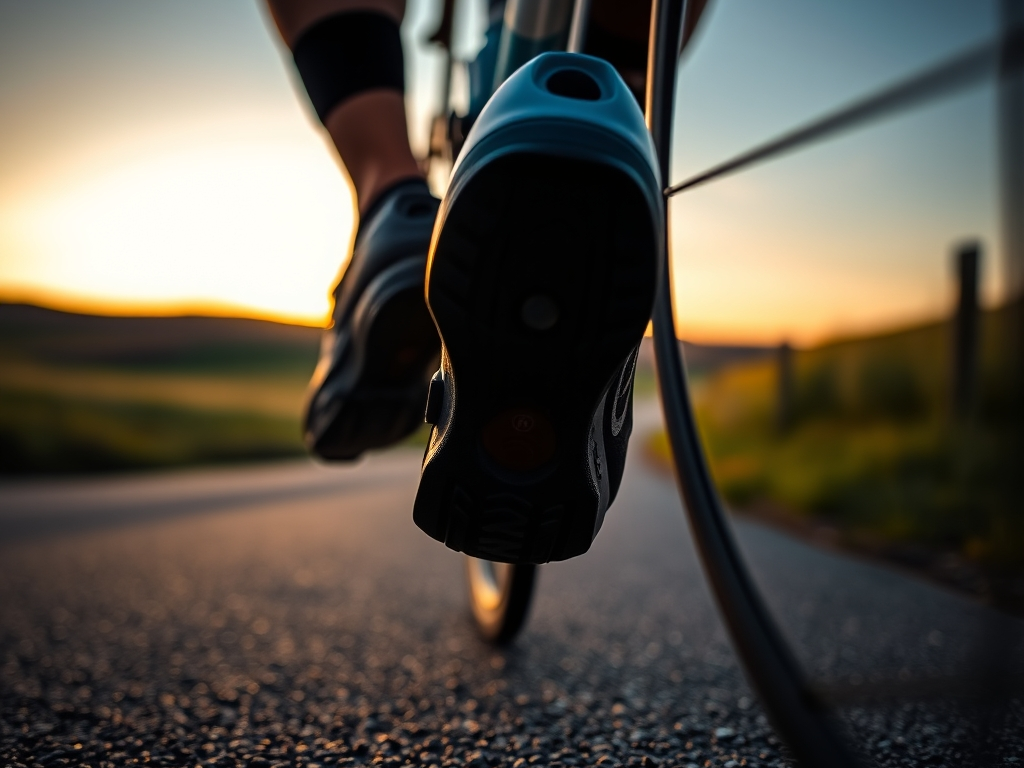
This guide walks through the decisions that actually matter, in the order you should make them. It is built from published manufacturer information and general industry knowledge rather than hands-on testing, so you can use it as a framework when you compare options — including from brands like Cervélo, which is widely known for aerodynamic road, triathlon, and gravel bikes.
Step 1: Match the bike to the riding you actually do
Most first-time buyers start with the bike and then try to find rides for it. Reverse that. Before you look at a single spec sheet, answer three questions honestly.
- Where will most of your miles happen? Smooth pavement, chip-seal country roads, crushed limestone paths, and singletrack call for different bikes.
- How long are your typical rides? A 45-minute fitness loop has different comfort priorities than a four-hour weekend ride.
- Do you have a goal? A century ride, a triathlon, a bikepacking weekend, or general fitness all point in slightly different directions.
From there, the broad categories are straightforward:
Road bikes are built for paved surfaces and efficiency. They reward riders who want speed, group rides, and long distance on tarmac. Within road bikes, endurance-oriented models tend to have a more relaxed riding position and wider tire clearance, while performance and aero models prioritize a lower, more aggressive position.
Gravel bikes sit between road and mountain bikes. They usually accept wider tires than road frames and are designed for mixed surfaces — dirt roads, gravel paths, rough pavement. For many riders in the United States who face a mix of smooth asphalt and unpaved roads, a gravel bike is the most versatile single-bike choice.
Triathlon and time trial bikes are a specialized category built around aerodynamic positioning and aero handlebars. They make sense if you are training for multisport events; they are a poor choice as a do-everything bike.
Mountain bikes are for technical off-road terrain, with suspension and geometry built around obstacles rather than pavement.
If you are genuinely split between two categories, choose the one that covers 70 percent or more of your realistic riding. A bike that is excellent at your most common ride beats a bike that is merely adequate at everything.
Step 2: Get size and fit right before anything else
Fit is the single biggest determinant of whether you enjoy riding. It also cannot be fixed with upgrades later — a frame that is too long, too short, or too tall is a permanent compromise.
A few practical rules:
- Start with the manufacturer’s size chart, using your actual height and inseam rather than the size you rode as a teenager.
- Compare stack and reach figures, not just the size label. These two numbers describe how tall and how long the front of the bike is, and they are comparable across brands even when a “54” means different things.
- Read the geometry chart for the riding position you want. More stack and shorter reach generally equal a more upright, comfortable position; less stack and longer reach equal a lower, racier position.
- Budget for a professional fit if you are spending serious money on the bike. A fit session is far cheaper than replacing a frame.
- Consider standover height if you want confidence at stops, especially on gravel where footing can be uneven.
A useful sanity check: if you are between sizes and you want comfort and stability, the smaller frame with a longer stem and more seatpost extension is often the more adjustable choice. If you want a lower front end for aerodynamics, the larger frame can work — but only if your flexibility supports it.
Step 3: Know which specs matter and which are marketing
The spec list on any bike page is long. Here is how to read it like someone who has done this before.
Frame material. Carbon fiber is light and can be shaped for aerodynamics and vibration damping; aluminum is durable and typically less expensive; steel and titanium appeal to riders who want longevity and a particular ride feel. None of these is universally better — they are trade-offs of cost, weight, and durability.
Tire clearance. This is one of the most future-proofing specs on any frame. More clearance means you can run wider tires for comfort and grip on rough surfaces, and it lets you adapt the bike to different terrain over time. For gravel riders especially, generous clearance is worth prioritizing.
Groupset tier. Shifting components come in tiers. Mid-tier groupsets generally deliver reliable performance; the top tiers save weight and add electronic shifting. For most riders, spending on fit and wheels before spending on the highest-tier drivetrain is the smarter allocation.
Wheels and tires. These affect ride quality and speed more than almost any other component. A good set of tires matched to your terrain is often the best value upgrade on a new bike.
Brakes. Disc brakes, hydraulic in particular, offer consistent stopping power in wet conditions and are now common across road and gravel categories. If you ride in rain or on long descents, this matters.
Aerodynamics. Aero matters most at higher speeds and over longer distances. It is real, but it is not the first thing a new rider should optimize — fit and terrain match come first.
Step 4: Budget across the whole purchase, not just the bike
New riders often spend the entire budget on the bike and then discover they still need pedals, cycling shoes, a helmet, lights, a floor pump, a saddle bag, and basic tools. Set aside a meaningful portion of your total for those items, plus the cost of a fit session if you plan to book one.
On pricing generally: entry-level performance bikes and top-tier race bikes occupy very different price brackets, and within a single brand you will usually find a range of tiers. Rather than chasing the most expensive option, look for the tier where the frame and geometry match your goals and the components are reliable — that is usually where the value sits. Do not assume a higher price automatically means a better bike for your riding.
Step 5: Avoid the common first-bike mistakes
- Buying for the rider you plan to become. Buy for the rider you are now, and let the next bike be the upgrade.
- Ignoring fit because the paint job is great. Color is a legitimate reason to like a bike. It is a bad reason to buy the wrong size.
- Over-buying components. Electronic shifting and deep-section wheels do not make an uncomfortable position comfortable.
- Skipping the test ride. Whenever possible, ride before you buy, even briefly. Different geometries feel different within the first hundred yards.
- Not asking about warranty and service. Before purchasing, ask how warranty coverage works, where the bike can be serviced locally, and what the return or exchange window looks like. Policies vary by brand and by retailer, so confirm the specifics rather than assuming.
Where a brand like Cervélo fits in
Cervélo is a Canadian brand that has built its reputation around aerodynamic engineering across road, triathlon, and gravel categories. For shoppers, that background is most relevant if your priorities lean toward speed and aero efficiency on pavement or mixed surfaces, or if you are shopping specifically for a multisport bike. As with any brand, the practical move is to check the published geometry charts, confirm the riding position matches your flexibility and goals, and compare stack and reach numbers against other options you are considering rather than relying on category labels alone.
Frequently asked questions
Is a gravel bike a good only bike? For many riders, yes — wide tire clearance and stable geometry make it adaptable to pavement, dirt roads, and light trails. It is less ideal if you race criteriums or want a dedicated time trial position.
How do I know my frame size without a fit session? Use the manufacturer’s height and inseam chart as a starting point, then compare stack and reach against a bike you have ridden comfortably. A fit session is still the most reliable answer.
Do I need disc brakes? If you ride in wet weather, on steep descents, or on loaded gravel rides, hydraulic disc brakes are worth it. In dry, flat conditions, rim brakes can still work.
Should I buy online or in a shop? Online often offers more selection and competitive pricing; a local shop offers test rides and a service relationship. Many riders do both — research online, then confirm fit in person.
What should I ask about shipping and returns? Ask who covers shipping on a complete bike, how the bike arrives (assembled, partially assembled, or boxed), and what the return window is if the fit is wrong. These details vary by brand and retailer, so get them in writing before you order.
Ready to narrow it down?
Start by writing down your three most common rides, your total budget including gear, and your height and inseam. With those in hand, compare two or three models against stack and reach figures and tire clearance numbers, and you will be making a decision based on what actually affects your riding rather than on spec-sheet noise. Browse our gear guides for more practical comparisons before you commit.