
Protective gear is one of the few purchases in outdoor sports where the difference between a good choice and a bad one shows up in ways you can’t easily undo. A helmet that sits slightly wrong, pads that bunch behind the knee, a jacket that traps sweat on the climb — these aren’t minor annoyances. They’re the reasons people leave gear in the closet and start skipping the protection they actually need.
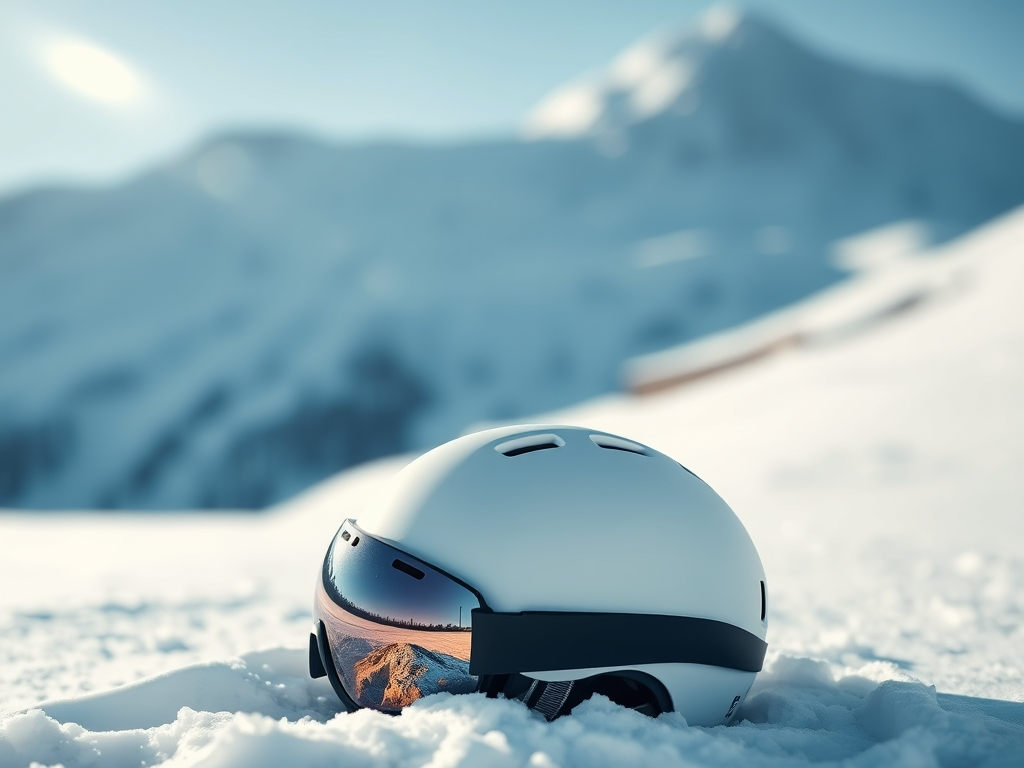
This guide walks through how to think about helmets, body armor, and technical apparel for skiing and cycling. It’s written for riders and skiers who want to spend once and spend well. POC is one brand commonly associated with protection-focused gear for snow and bike sports, so it can serve as a reference point while you compare options across the market.
Start With the Risk, Not the Price Tag
Most shoppers begin with budget or with looks. A more useful starting point is the question: what am I actually protecting against?
A downhill mountain biker and a commuter have different exposure. So do a park skier hitting jumps and a cross-country skier on groomed trails. Before you compare anything, write down three things:
- Your primary discipline. Alpine skiing, freeride, snowboarding, road cycling, gravel, trail riding, downhill. Each has a different impact profile.
- Your speed and terrain. Higher speed and harder surfaces raise the stakes and change what standards you should be looking for.
- Your history. If you crash often, or ride in a group where contact happens, coverage matters more than weight savings.
Gear that is overbuilt for your use case usually means you paid for protection you’ll never use and carried weight you didn’t need. Gear that is underbuilt is worse — it gives a false sense of security.
Fit Is the Feature That Matters Most
A helmet that doesn’t fit correctly performs below its rating. This is the single most overlooked point in protective gear.
Helmets. Measure your head circumference about an inch above the eyebrows, then match that number to the brand’s size chart rather than guessing from hat size. Once on, the helmet should sit level on your head — not tilted back off the forehead — and the retention system should tighten without pressure points. Push the front of the helmet up with your palm; if it slides back easily, it’s too loose. Check the chin strap: snug enough that you can fit roughly two fingers under it, no more.
Pads and body armor. Knee and elbow pads should stay in place when you flex and extend, not rotate around the joint. Test by squatting, pedaling in place, and simulating a fall. If a pad shifts position under movement, it won’t be where you need it at the moment of impact.
Apparel. Ski and bike layers should allow full range of motion without the shoulders pulling or the hem riding up. If a jacket restricts your reach on the handlebars or across your poles, size up or look at a cut designed for a more forward stance.
A useful rule: buy the fit first, then the features. Features can’t rescue a bad fit.
What Certifications and Labels Actually Mean
Safety standards are the most reliable shorthand for baseline protection, but they need context.
- Helmets for cycling and snow sports carry regional certifications. In the US, look for CPSC certification on bike helmets. Snow helmets commonly reference EN 1077 or ASTM F2040. A helmet can hold multiple certifications, and multi-standard helmets are often designed for both bike and snow use.
- Impact standards for body armor vary widely by sport and by region, and there is no universal label. That means construction details — hard shells versus soft foam, articulated joints, coverage area — carry more weight in your decision.
- Rotational-impact systems such as MIPS and similar technologies are added slip-plane designs intended to address angled impacts. They’re a plus, not a replacement for a well-fitting helmet.
One thing worth saying plainly: no helmet or pad eliminates risk. Certification means the product met a defined test standard, not that a crash is guaranteed to be harmless. Ride and ski within your limits regardless of what you’re wearing.
Matching Gear to Your Discipline
Snow sports
For resort skiing and snowboarding, prioritize a helmet with a comfortable liner that works with your goggles (no gap at the brow), plus adequate coverage around the back of the head. Freeride and park riders often want more rear coverage and a slightly heavier shell. Layering matters as much as the shell: a moisture-managing base layer, an insulating midlayer, and a weatherproof outer shell give you far more range than one heavy jacket.
Road and gravel cycling
Ventilation and weight become meaningful, but don’t chase the lightest helmet at the expense of fit or coverage. For gravel and road, a helmet with good airflow and a secure retention dial will be more comfortable across a four-hour ride than one that saves a few grams but vents poorly.
Trail and downhill riding
This is where knee and elbow protection earn their place. Look for pads with a hard or reinforced outer surface if you’re riding rocky terrain, and articulated designs if you pedal as much as you descend. Full-face helmets trade ventilation for coverage — decide based on how much of your riding is lift-served or shuttle-served.
When you compare brands, map their ranges against these discipline lines rather than assuming a product built for one use will suit another.
Common Mistakes That Cost You Money
- Buying a helmet online without checking the return policy. Fit is personal and hard to predict. Confirm you can exchange an unworn helmet before you order.
- Reusing a helmet after a hard impact. Many helmets are designed for a single significant impact. Follow the manufacturer’s guidance on replacement.
- Skipping the goggle-helmet interface. A gap between helmet and goggles means cold air and fogging. Bring your goggles when you try a helmet, or check compatibility guidance from the brand.
- Overbuying armor for low-risk riding. If you’re commuting on pavement, full downhill pads are unnecessary weight and heat.
- Ignoring storage and care. Heat, solvents, and a hot car degrade foam and adhesives over time. Store gear dry and out of direct sun.
- Forgetting that layering beats bulk. Two well-chosen layers outperform one thick one for temperature regulation.
FAQ
How often should I replace a helmet? Follow the manufacturer’s stated lifespan guidance and replace after any significant impact. Foam and adhesives degrade with age, heat, and sweat regardless of visible damage.
Can I use a snow helmet for cycling? Only if it carries the appropriate certification for that use. Check the label rather than assuming.
Are expensive helmets meaningfully safer? Price often reflects weight, ventilation, and construction, not a higher certification tier. Fit and correct use matter more than price.
Do I need body armor for trail riding? It depends on terrain, speed, and your own risk tolerance. Many riders start with knee pads and add coverage as their riding progresses.
How do I compare brands fairly? Use the same checklist for every brand: intended discipline, certification, coverage area, fit and retention system, replacement guidance, and exchange policy. That keeps marketing claims from crowding out the details that matter.
Where to Go From Here
Write down your discipline, your terrain, and your budget. Then shortlist three helmets or pad sets that fit those parameters, confirm the certifications, and check the exchange policy before you buy. That process takes an evening and saves you from the most common and most expensive gear mistakes.
If you want a concrete starting point, look at POC as one example of a brand known for protection-focused design in snow and bike sports, then use the checklist above to compare it fairly against other options before you decide.